|
||||||||||||||||||||||||||||||||||||||||||||||||||||||
| Full Scoreboard | Play Fantasy Pick'em! | ||||||||||||||||||||||||||||||||||||||||||||||||||||||

Age: 56
Born: Brampton, ON
Resides: Brampton, ON
Throws: Right
Profession: Contractor
Born: Brampton, ON
Resides: Brampton, ON
Throws: Right
Profession: Contractor


|
||||||||||||||||||||||||||||||||||||||||||||||||||||||||||
| Full Scoreboard | Play Fantasy Pick'em! | ||||||||||||||||||||||||||||||||||||||||||||||||||||||||||
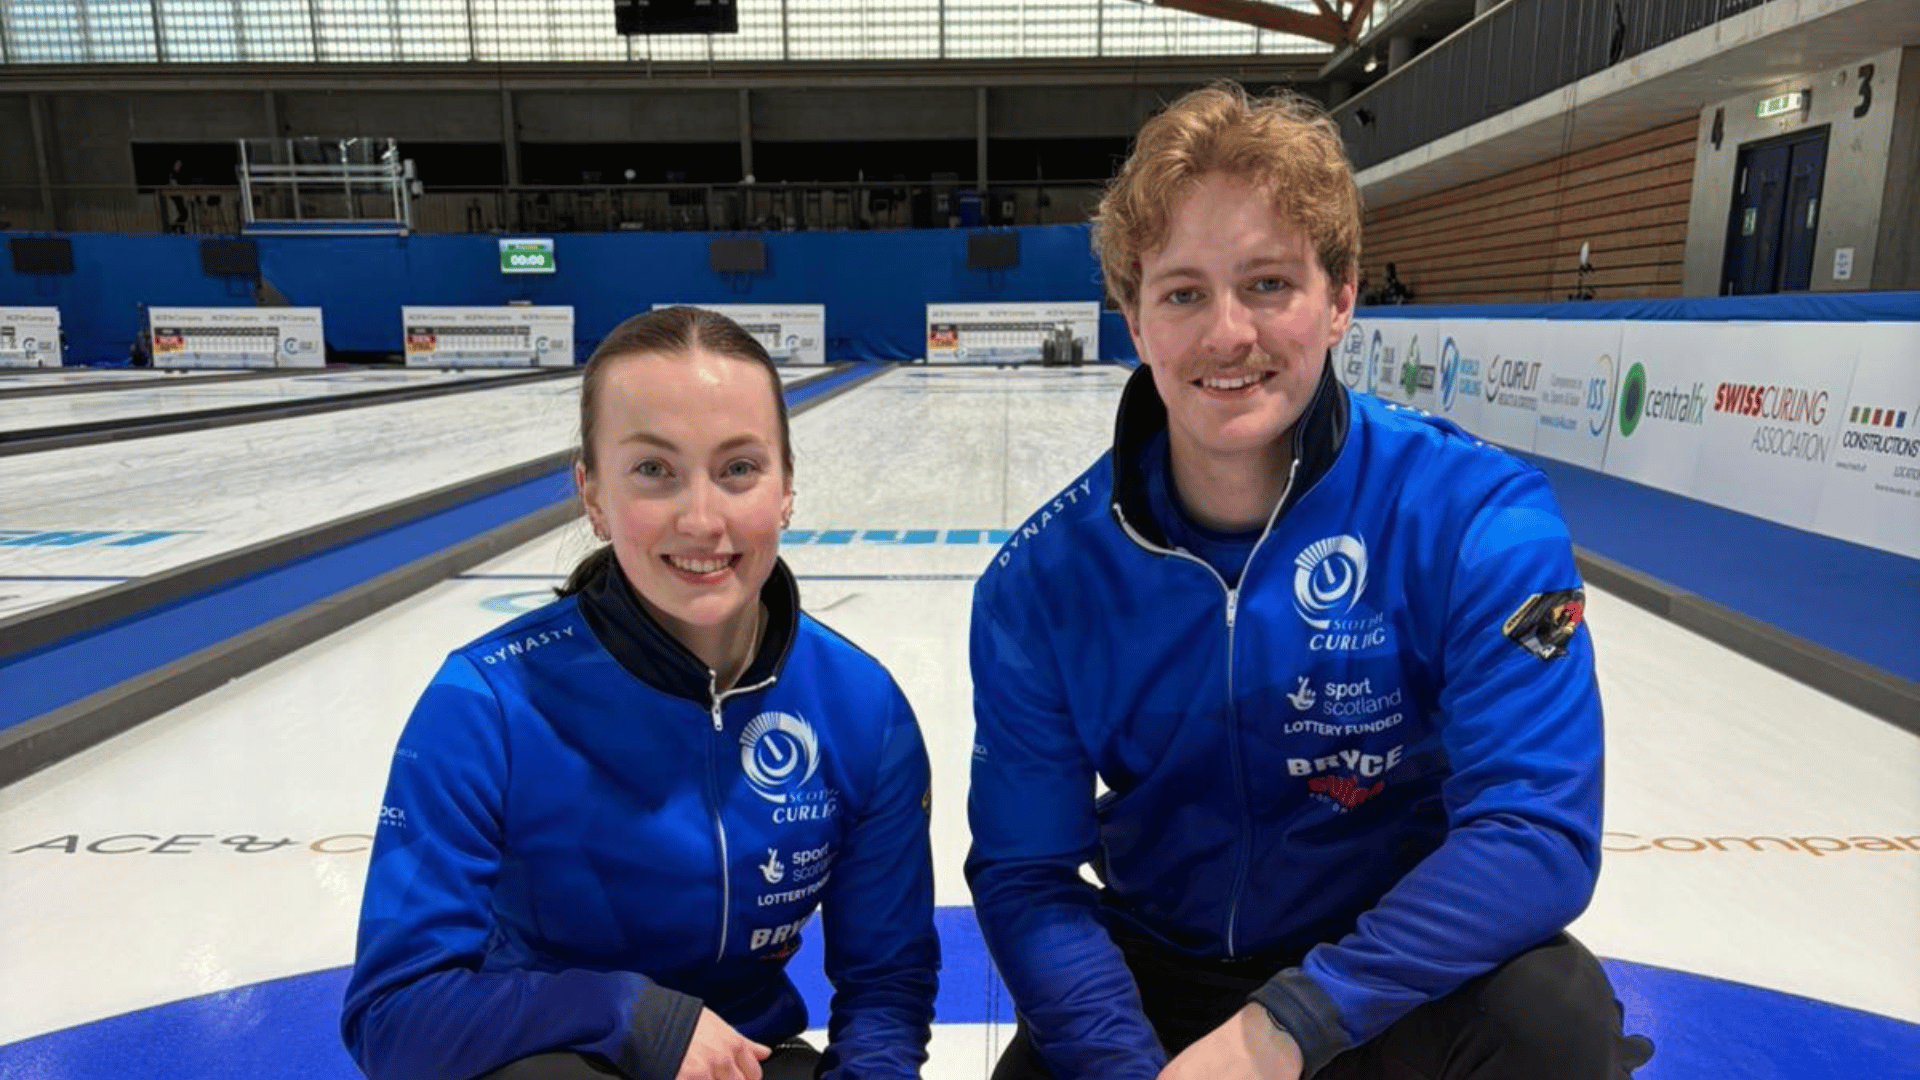
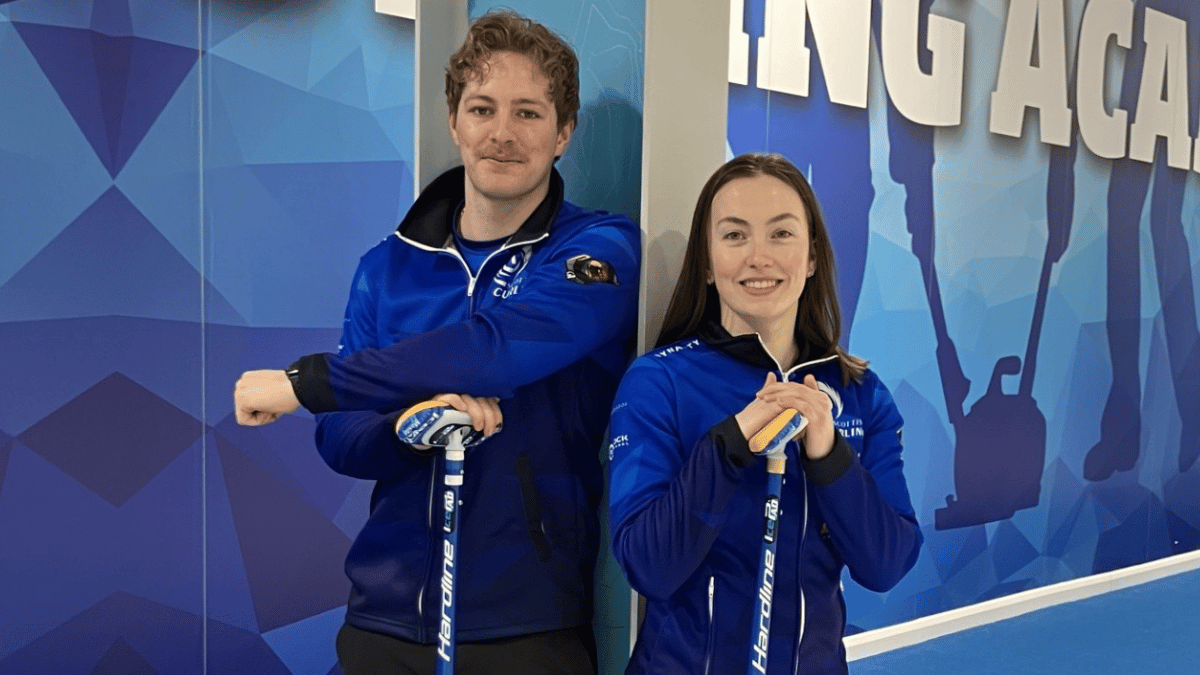
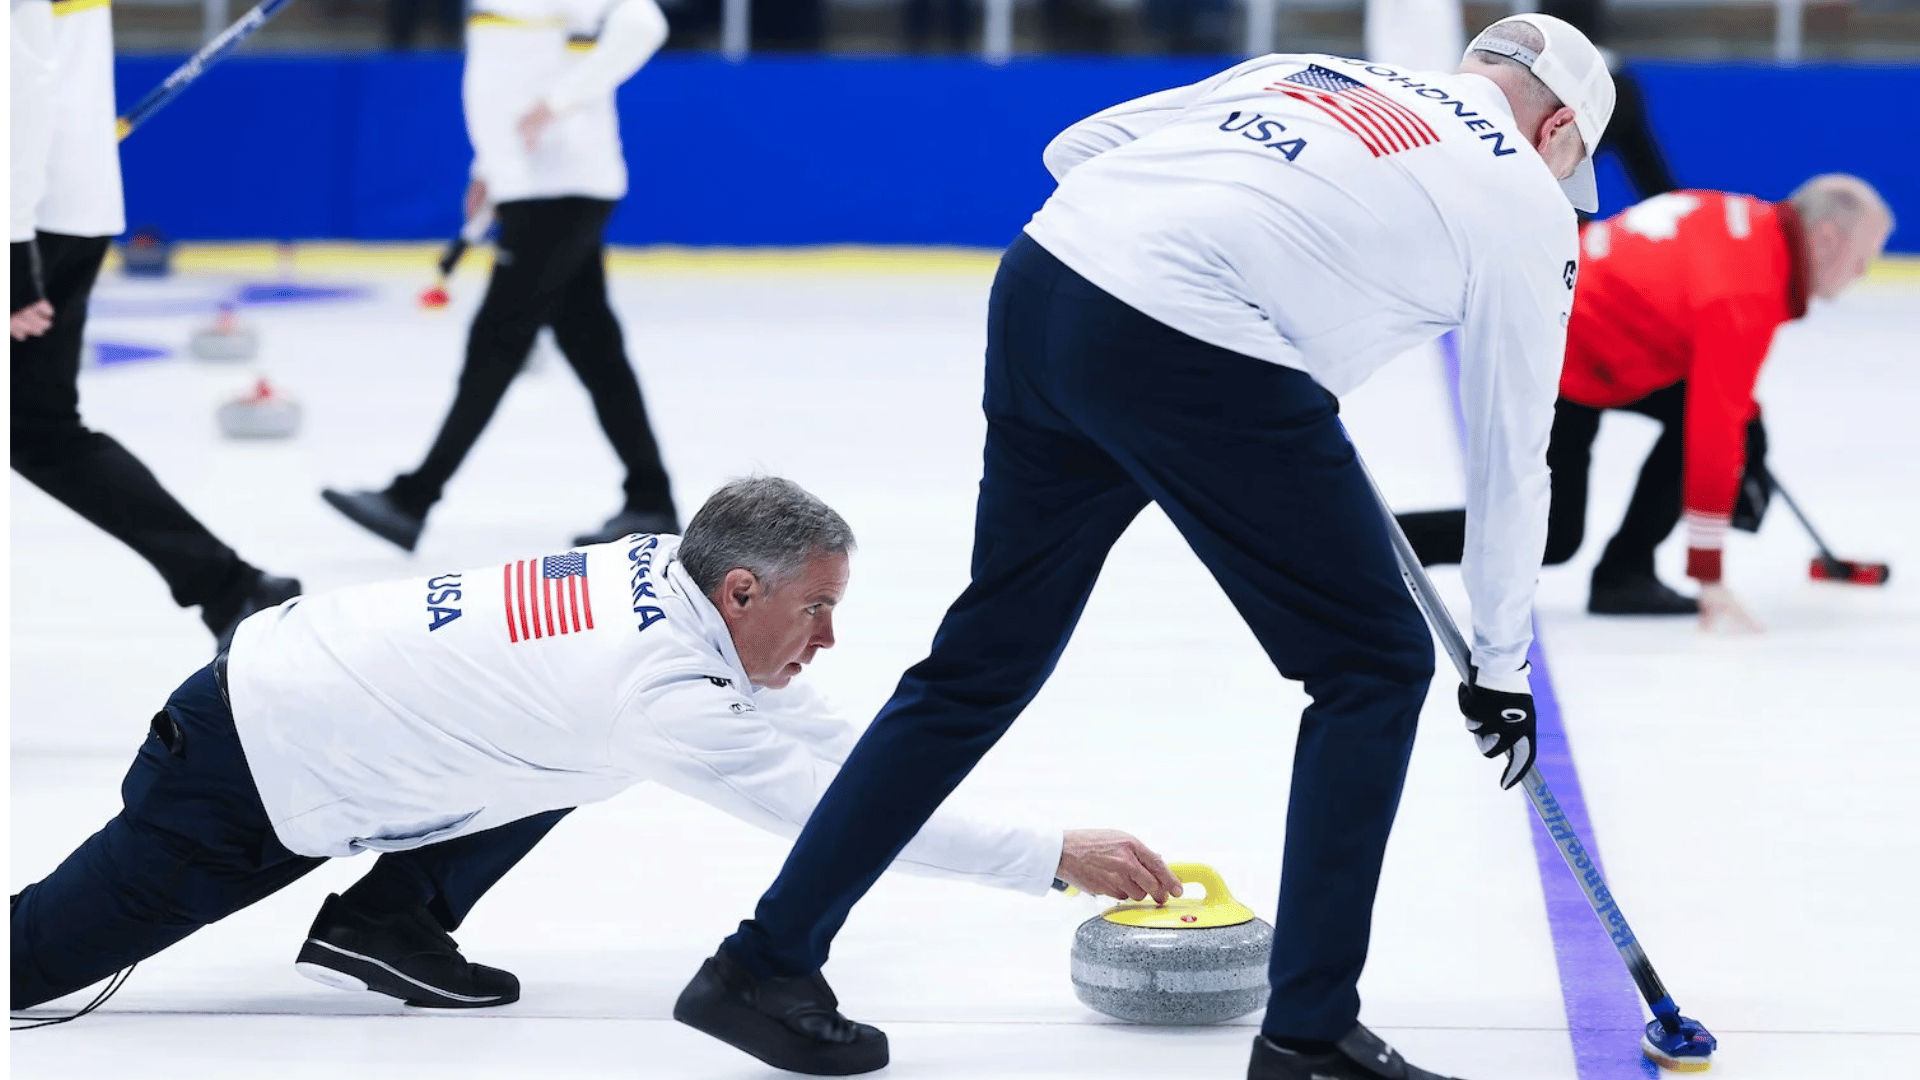
A five at the opening end of their first-ever match together in a major international competition sent Katie McMillan and Angus Bryce on their way to a dominant victory over the USA at the ACE & Company World Mixed Doubles Championships in Geneva.